About Me

My photo
Vermont
Check my shop on Etsy. http://www.etsy.com/shop/UpcycleRecycleReuse

Search This Blog

Showing posts with label bows. Show all posts

Wednesday, February 29, 2012

etsy artist feature

Victorian-esque, dripping-with-cute Lady Love Shoes


Victorian-esque, dripping-with-cute Lady Love Shoes
zoom
Victorian-esque, dripping-with-cute Lady Love Shoes Victorian-esque, dripping-with-cute Lady Love Shoes Victorian-esque, dripping-with-cute Lady Love Shoes
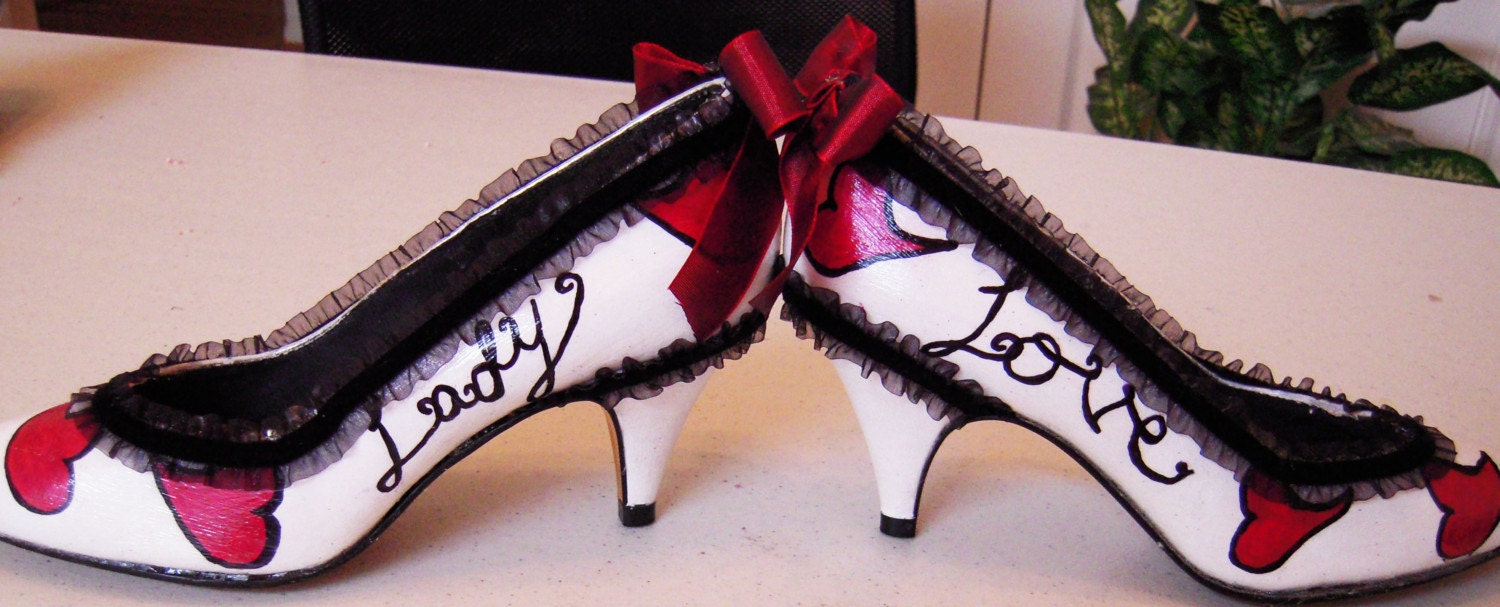
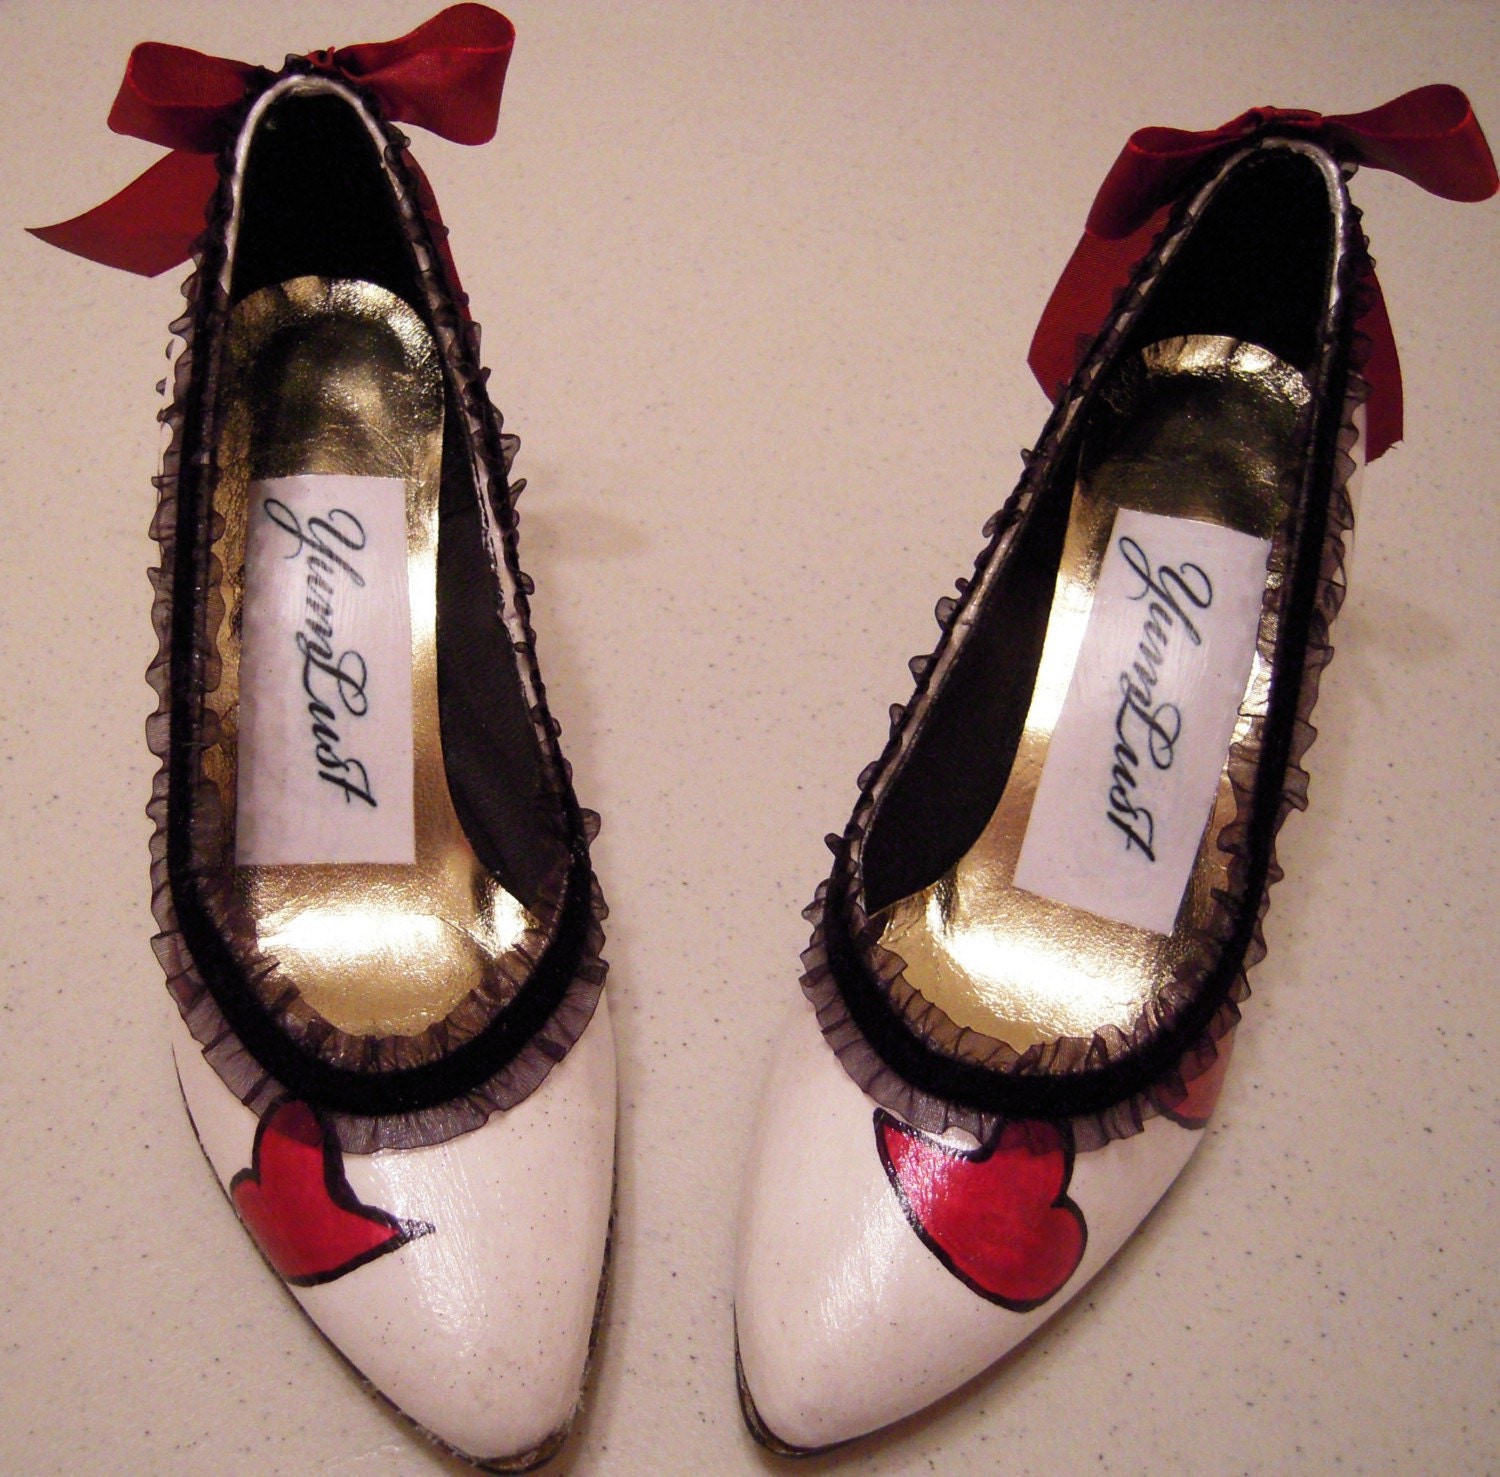
I thrifted these shoes and gave them new life. They are now "vanilla bean" white (they have tiny specks of black glitter) with three hearts on the outer side of each shoe. The shoes bear the words Lady (left) and Love (right) in a pretty script. I've also added a fray-proof crimson-red bow. The shoes are sealed in a waterproof sealer to ensure that the paint does not wear off. (I would not suggest running a marathon through the plains of africa in them, however.. but if you're doing that in high-heels anyways then you've got bigger problems)

The shoes are a US size 6 M with a 3 inch heel.


If you're simply *in love* with these, I can make you a similar pair with the trim and bows.. just convo me!

Tuesday, January 3, 2012

Origami Bows

Origami Bows

Be still my origami heart, have you seen the site Tweety Atelier? She's got the most swoon worthy origami projects on her site. One of my favorites has to be this origami bow. Keep in mind the directions are in Korean but if you're familiar with origami it shouldn't be too difficult to figure out. Visit Tweet Atelier for the origami bow directions.

Craft: Easy Paper Bows

If you've been following this site, you're probably guessing I got this idea from an earlier post about origami bows. However, this paper bow actually came about when I was making some paper pinwheels. It all started like this; I was debating whether to do a post on mini yo-yos or mini guitars. Trying to decide, I started staring at my bulletin board wishing there was a pinwheel on it to spin. This then lead to the making of some pinwheels which started turning in containers which then morphed into bows. So there you have it, if you ever wondered how my brain works now you know. Some may call this a short attention span but I like to kindly refer to it as the "creative process".

Supplies:
Square piece of card stock
One brad
Hole punch
Scissors

With right side of paper facing down cut paper where you see dotted lines. Cut off bottom section (refer to right picture).

Bend top flap down revealing right side of paper. Punch holes as marked by the five black dots. Fold bottom left corner up and add a brad. Click on images for a larger view.

Attach top left corner to the brad. Attach bottom right flap to the brad.


Attach top right flap to brad. Place brad through the center hole. Close brad in the back. Cut out bottom of bow (refer to dots). Done!

Once your bows are made you can adjust the shape by trimming the bows if you wish.

These cute little bows would make the perfect bunting for a party. Make them small for tiny embellishments or large to decorate with. There are lots of possibilities.