About Me

My photo
Vermont
Check my shop on Etsy. http://www.etsy.com/shop/UpcycleRecycleReuse

Search This Blog

Showing posts with label gift bags. Show all posts

Wednesday, November 30, 2011

No tissue paper make your own cover for your Gift Bag


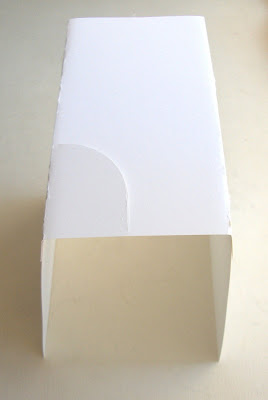
Above is a picture of a cardboard cover in a gift bag instead of tissue. I recently saw a gift like this and thought it was such a clever idea. At the top of the cover it had a slot to place a card. To me the design had everything, form and function. It covers the gift better, keeps the bag's shape, and prevents the card from getting lost in the tissue. Simple directions below to make a gift bag cover.

Supplies:
cardstock - size depends on the gift bag
scissors
exacto knife
glue or double sided tape

Follow diagram to make the cover

Your gift bag cover should looking something like the image above.To make the rounded slit I placed a cup upside down and traced around it with the exacto knife. Then just slide your card into it.view looking straight down into the bag

Monday, November 28, 2011

Upcycle Craft: Paper Gift Bags - DIY

Upcycle Craft: Paper Gift Bags

Over the weekend I visited Kinokuyiya, one of my favorite bookstores. I was in search of some crafty inspiration and found it in the most unusual place. It wasn't a craft book that inspired me but instead a paper bag that the store places your purchase in. I've always found these kind of bags charming. Perhaps it's the simplicity of the bag or the feel of the paper that appeals to me. I'm not sure. I just know I like them and decided to make a few for myself.

Supplies:
Paper - Could be from catalogs, magazines, newspapers, maps, etc.
Pinking paper scissors
Glue stick

Decide where you want the front of your bag to be. Fold flaps back to center the image. Make sure flaps overlap in the back. There's no specific measurements for the folding since all paper and positioning of pictures will be different.


Glue the back flaps together. Gut the bag at the bottom to the length you want plus one extra inch. Fold up one inch, unfold. (refer to picture on right).

*Click on images for a larger view.

Fold corners into the fold you just made in the last step. Fold back up and glue in place (right picture).

Trim the top of the bag with pinking paper scissors. Done.

DIY Gift Wrapping Ideas


DIY Gift Wrapping Ideas

Christmas, and unique DIY gift packaging.

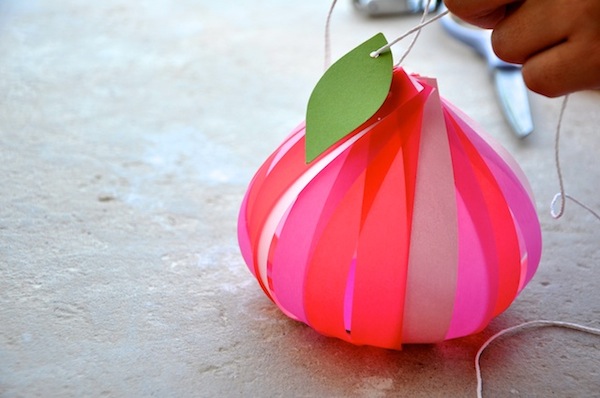
Favor Florets Tutorial from Camille Styles
 So unique and ADORABLE!!  I love the colors.  I cannot wait to try this. 


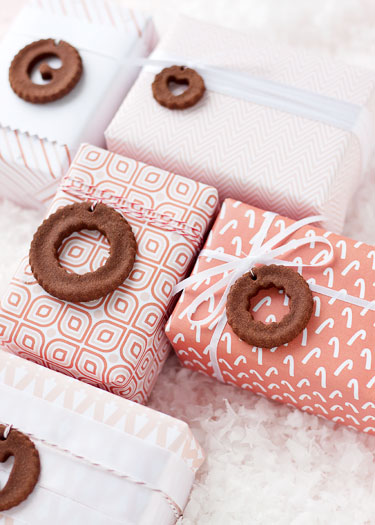
Printable Gift Wrap and Gift Tags from Domestifluff
I love printables!  This is a lovely blog all about crafts, food, DIY and more!


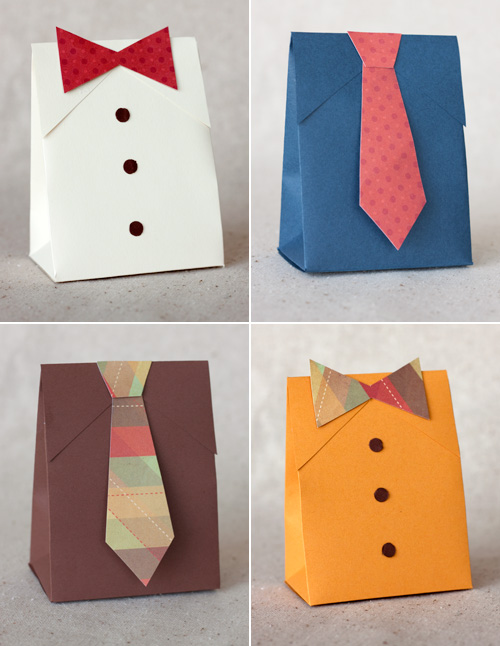
Shirt and Tie Gift Boxes from Papercrave
I know Father's Day has passed, but I am going to find a reason to make and use these!  And now I am going to head back to Papercrave to get lost in all of their spectacularness!

Friday, November 18, 2011

Upcycled Fabric - Wine Sleeve

Wine Sleeve Steps
(Illustration By: Tim Lillis)

MATERIALS

Long-sleeved shirt with a hem at the wrist
2 cords for a drawstring
Needle and thread or sewing machine
Fabric scissors
Safety pin

DIRECTIONS

1. Choose a shirt.
Select a long-sleeved shirt with a hem around the wrist. The hem will become the casing for the drawstring.
2. Cut the sleeve.
Cut off the sleeve near the armpit. Most wine bottles are about 1 foot tall, so make sure you have a few extra inches.
3. Flip and sew.
Turn the sleeve inside out and stitch along the un-hemmed edge, sewing the edge shut. Then flip the sleeve back to the right side.
4. Cut slits for the drawstring.
Take your scissors and cut 2 small slits in the hem directly across from each other.
5. Create the drawstring.
Take one of your cords and attach a safety pin to the end. Thread the cord though the hemmed edge of the sleeve, beginning and ending at the same point. Remove the safety pin and double knot the ends together. Repeat with the second cord on the opposite side. Once you’ve secured the second cord with a double knot, pull the drawstrings away from each other, and you’ve created your wine pouch. Add your favorite bottle and enjoy.
Variation:
Cut the sleeve from a short-sleeved shirt to make a mini-pouch for holding a camera, art supplies, MP3 player, or other small objects.

Friday, November 4, 2011

Etsy Greek Street Team: DIY - Gift bags from magazine pages!


Etsy Greek Street Team: DIY - Gift bags from magazine pages!: Πώς να φτιάξετε χάρτινες τσάντες ανακυκλώνοντας χαρτί!!!!!!! How to make paper gift bags while recycling paper!!! Θα χρεια...