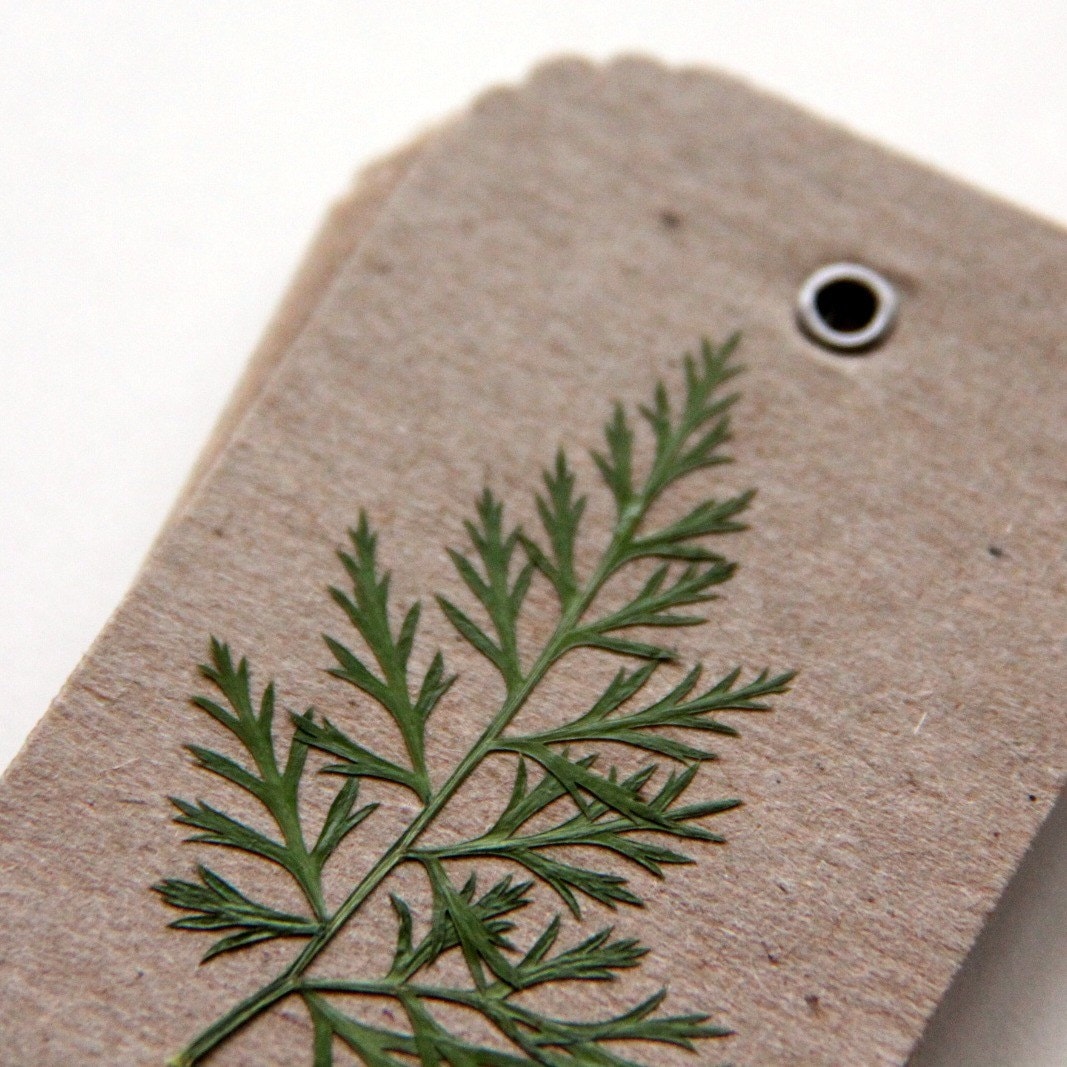
Yuletide gift tags: a blender pen tutorial

I was first introduced to the
blender pen by my husband, who used one to illustrate a small book for me for our first Valentines Day together. I was
amazed at how easy it was to transfer and manipulate images using the
pen, and it quickly became a craft supply staple! This year I have used
it to create some simple gift tags, and I really love the simplicity of
the black lettering with brown paper and string wrapped presents.

A
blender pen traditionally does just that, blends. It is a pen filled
with a clear ink that artists use to blend their pens, chalk, coloured
pencil, etc and give it a water colour type look. However, the clear ink
also reacts with toner ink (photocopied, laser printed or magazine
images work) causing the ink to lift of the image and can then be
transferred onto a new surface. You can use a blender pen to transfer
images onto paper products, fabric, lino (we use it for preparing block
prints) or even wood. Here's how....
Material You will need...
1. A Blender pen (you can find these at most craft stores, and some stationary stores)
2. A burnishing tool, we use a small spoon or the handles of some scissors.
3. Photocopied, laser printed or magazine images for transfer
(keep in
mind the image will 'flip' and create a mirror image so make sure to
flip any text you have before printing)
 Step One: Loosening
Cut
out your image, and place it face down on the surface you wish to
transfer it onto. If you are transferring onto regular paper (especially
in a book), be aware that the ink can bleed through a bit. While
holding the image in place (I recommend leaving a decent amount of white
space when cutting out the image, so you have space to hold it still),
take your blender pen and apply even strokes across the image until the
paper is almost translucent.
Do not move the paper (not even between step one and step two). You have now loosened the ink to be transferred.
 Step two: Burnishing
Now,
how soon you move onto step two will depend slightly on your blender
pen. If you are using a brand spankin' new pen it is likely that quite a
lot of ink will come out, and this can cause your image to be over
saturated or to bleed. To prevent this from happening, wait a minute
after step one before burnishing to let it dry a little. This is also a
good reason to do a few practice runs!
Burnishing is the step
that actually transfers the loosened ink onto it's new surface. To do
this, take a small spoon, scissor handles, etc and rub it all over the
back of your image in small motions. You want to make sure you get all
of the image, and don't be afraid to press hard, you won't tear the
paper.
Still don't move the paper (I mean it).
 Step three: Check
 While
holding your image in place with one hand, carefully peel up the paper
to check that it has transferred successfully. Now, carefully switch
sides and check the rest of the image. If it is still a bit faded or
patchy, then repeat step two. Or, if you're into faded and/or patchy
then leave it at that!
Once you're happy with your image, slowly
and carefully peel off the paper being careful not to smudge. The ink
will still be a little wet so maybe leave it to dry for a couple
minutes.

Voila! Lovely personalised gift tags ready to use for all your Christmas goodies.
Merry Christmas!