About Me

My photo
Vermont
Check my shop on Etsy. http://www.etsy.com/shop/UpcycleRecycleReuse

Search This Blog

Showing posts with label recycled fabrics. Show all posts

Tuesday, November 20, 2012

DIY Screenprint Dodger Tee

DIY Screenprint Dodger Tee

awesome textile diy's 
 A Beautiful Mess' hand stamped dress, a bleach painting tutorial by Lune via A Beautiful Mess. I thought I'd give this screenprint diy, that I saw over at Manzanita, here's my take on this awesome and totally easy project. Here's what you need:
Shirt (thrifted), modge podge, fabric paint (this was my first time using  all-purpose acrylic paint and it's amazing!), design, cardboard piece, embroidery hoop, nylon or panty-hose fabric, paintbrush, and permanent pen.
1. Create a design for your screenprint. I started with something simple since it was my first time using this method. Later, I did a more elaborate design for the front of the shirt, after I did this first heart as practice. Make sure that your that your embroidery hoop is large enough for your design.
2. Stretch the nylon over the hoop so that it is taut.
3. Trace your design using a a permanent pen.
4. Using Mod Podge, paint the "negative space", or, the space that you do not want to be painted.
5. Fill in the whole area, making sure there are no holes or gaps. I was obsessive about this because I didn't want the paint to seep through. Let dry completely. It took about 3 hours for this little one to dry.
6. Lay the hoop flat on the shirt and position where you want the design to be, and place a piece of cardboard beneath the area so that the paint doesn't bleed through the back. Squirt a generous amount of paint over the design.
7. Use the cardboard to spread the paint over evenly.
8. Carefully lift the hoop off the shirt and voila!
9. Let the paint dry completely before wearing.
I also did the front part of the shirt. I made the LA symbol inside a heart. I thought it came out cute and I'm excited to wear it to the game! Go Dodgers!
A few people have commented asking me how I made the design on the front. Here's a picture of the screen I made to create it. I painted Mod Podge on the outside of the heart, and the block letters, basically anywhere I didn't want the paint to go. So you kinda have to think in reverse. Hope this helps!

Wednesday, November 14, 2012

Hanging things doesn't have to be ugly.


Looking for a quick and simple gift? Something that doesn't require a lot of skill and needs no painting? These decoupaged hangers from Ashley at Make It and Love It are perfect for you. Using fabric, hangers from JoAnn's $1 bin and (because there is nothing better) Mod Podge, she whipped these up in no time.

Visit this post for the tutorial; don't forget that you can (and should!) use items from your stash and/or personalize for your recipient. By the way, yes, making hangers with my name on them is weird if there is no one in your house named Amy.

Also Check out

, &  .

Monday, December 5, 2011

Saturday, December 3, 2011

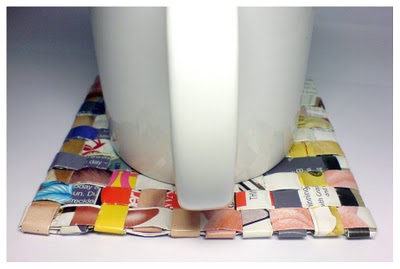
Weekend Project - Woven Trivet

 bookhou.com


I hope you like this project - it's simple and lots of fun to do.

woven trivet diy
I have been collecting the selvage from my sewing projects and thought this was a fun way to use the material to create a nice trivet or little mat. if you don't have selvage scraps you can use and old shirt or pants and cut up strips to use. wool sweaters are really nice after the project you can wash it in hot water and it will felt nicely. this is also a nice project for kids.

what you need:
-four pieces of stretcher frame (I used 10 in.) - hammering into a scrap piece of wood works good too.
-nails and hammer
-scissors (not shown in picture)
-cardboard approx. 1.5 x 5 in. (not shown in picture)
-cut up scrap fabric (I used selvage that I have been collecting)


step 1
before you begin put the four corners together to create the frame and hammer nails about 3/4 in. apart - take the fabric and tie onto the first corner and begin to wrap around the nails on the top and bottom as shown.


step 2
take the cardboard and cut triangular notches with the scissors - take the fabric from the ball and wrap it around the cardboard (this will be your shuttle)


step 3
tie a knot to the first row


step 4
take the cardboard shuttle and begin to weave under and over - continue this way until you reach the other side and tie down the end piece.


step 5
remove the loops from the nails - and because it was under tension the loops will fill in from the expansion.


hope you will give it a try - thanks.


Friday, December 2, 2011

Christmas felt wreath ideas upcycle - reuse

Make a base  wreath as a platform for you flowers.
Once you get all of your flowers glued on, you'll have a beautiful winter wreath!
Each flower in the rough should look like this:

I went to the Salvation Army the other day on a mission and got these sweaters for the roses.

No, those aren't maternity clothes!  
I needed wool sweaters or fleece in creams, browns and whites for my winter project of 2011.

The whites were a bit discolored and dingy so I decided to just go to AC Moore and get white felt but used these sweaters for most of the flowers. Adding just touches of white for brightness.


Tuesday, November 22, 2011

Upcycle Craft: Denim Pom Poms

Craft: Denim Pom Poms

Give me a D!
Give me an E!
Give me a N!
Give me an I!
Give me an M!
What does that spell? Denim!

I had an old pair of worn out jeans to play with and decided to make some pom poms with them. I really like how you can see the wrong side of the denim. I think it gives the pom poms some added depth and texture. I deiced to use them to adorn a gift. They're the perfect replacement for a bow.

Supplies:
piece of denim 4" x 12"
String - I used twine
Scissors

1. Cut denim on black lines like the picture above. This will give you one continuous piece of denim string. I recommend making the width just a little less than 1/4 inch and about 3 yards in length.

2. Wrap the denim string around three of your fingers. Keeping the loops intact, slide it off your hand.

3. Tie a piece of string around the center as tight as you can. You don't want your pom pom falling apart. Cut the loops (refer to picture).

4. Fan out edges. Trim pom pom if necessary. The more you trim it, the fuller it will look.

Your pom pom should now look something like this.

I have another tutorial for how to make pom poms with photos if that's more helpful. Click here, if you want to see it.

Friday, November 18, 2011

Upcycled Fabric & Paper Owls

  upcycled fabric + paper owls


"Fall brings so many wonderful things. I love the holidays, beginning with Halloween. My family happens to have a bunch of birthdays in the fall, too, so it is definitely a season of celebration for us. Designing these owls began as an endeavor to deliver a Harry Potter birthday invitation — owl mail anyone? Lift the wings, and there’s a special message just for you. The result was so sweet, I wanted to keep a flock of them for myself. I love how they look hanging in my window. The kids adored playing with them, too. These little guys are perfect for a neutral, non-garish and endearing Halloween decoration. These are quite easy to make and use just fabric scraps, paperboard and some accessories. The cost for me was nothing, as I had all the little bits on hand. You may as well. It took a couple hours to make this collection. — Anne "

Materials
  • paperboard (soda box, cracker box, cereal box)
  • fabric scraps
  • owl template
  • coordinating thread
  • craft glue
  • round head fasteners (from office supply store)
  • buttons
  • sequins
Tools
  • sewing machine
  • scissors
  • hole punch

Instructions

1. Collect different fabric scraps. I got these from fabric sample books that were discarded by our local window-covering shop. I LOVE those expired fabric books — they can contain such gems, and you’d be amazed how many things you can make with them.
2. Cut out and trace the owl and wings onto paperboard with the template.
3. Trace as many owls and sets of wings as you intend to make.
4. Sew the paperboard pieces to the fabric scraps with a regular straight stitch, following the contours of the paperboard shape.
5. Cut out the fabric-covered owls and wings with scissors.
6. Make the eyes by using craft glue to affix sequins to buttons. Use what you have on hand; faux jewels or other shiny baubles would work, as well.
7. Cut out a beak shape for each owl you are making (see template).
8. Glue the eyes to the owl with craft glue. Stitch the beak, folded in half, to the owl with your sewing machine.
9. If you want to use them as notes or invitations, cut paperboard pieces, as many as you need, sized 2 by 3 inches.
10. Write up your invitation or note and slip underneath the wings. I added a special note on the back and fishing line to encourage the recipient to reuse the owl. Don’t throw him away!!
You’re done!

Saturday, June 18, 2011

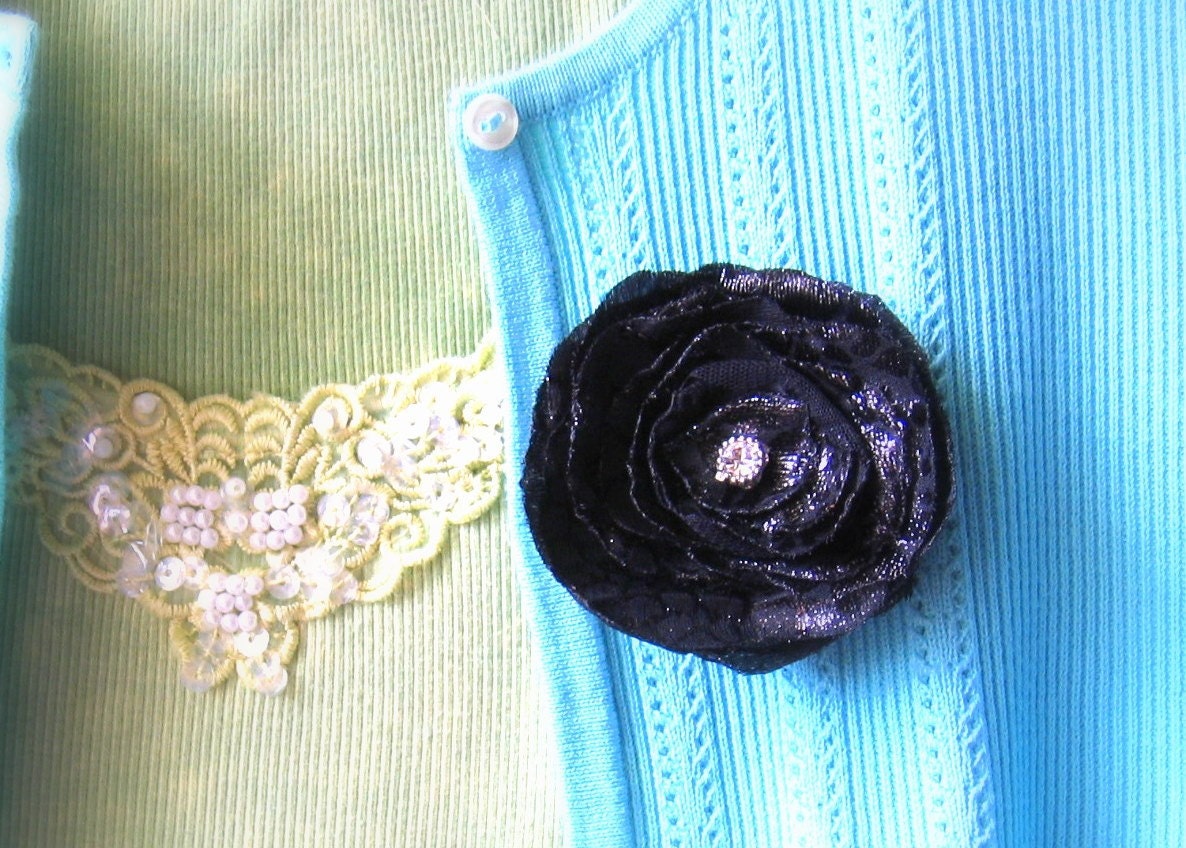
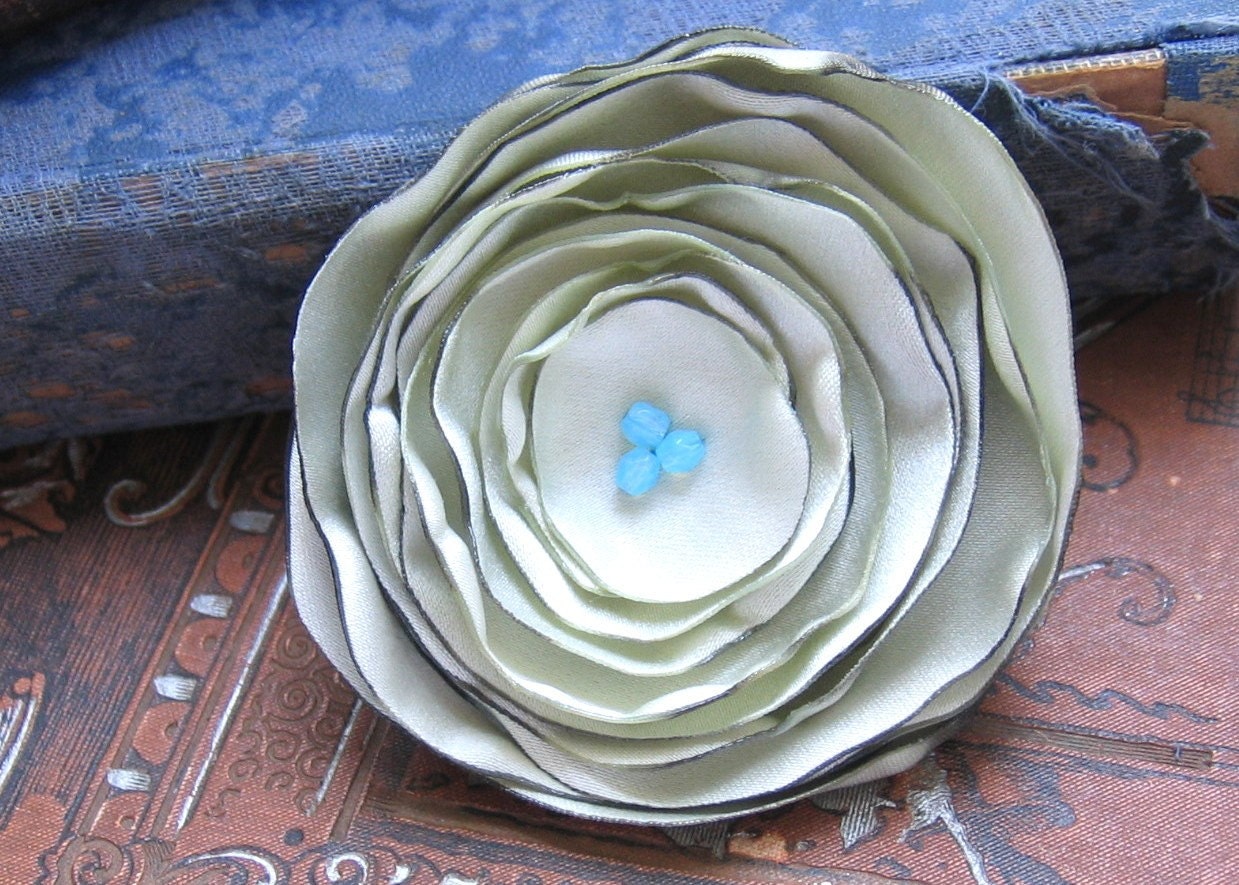
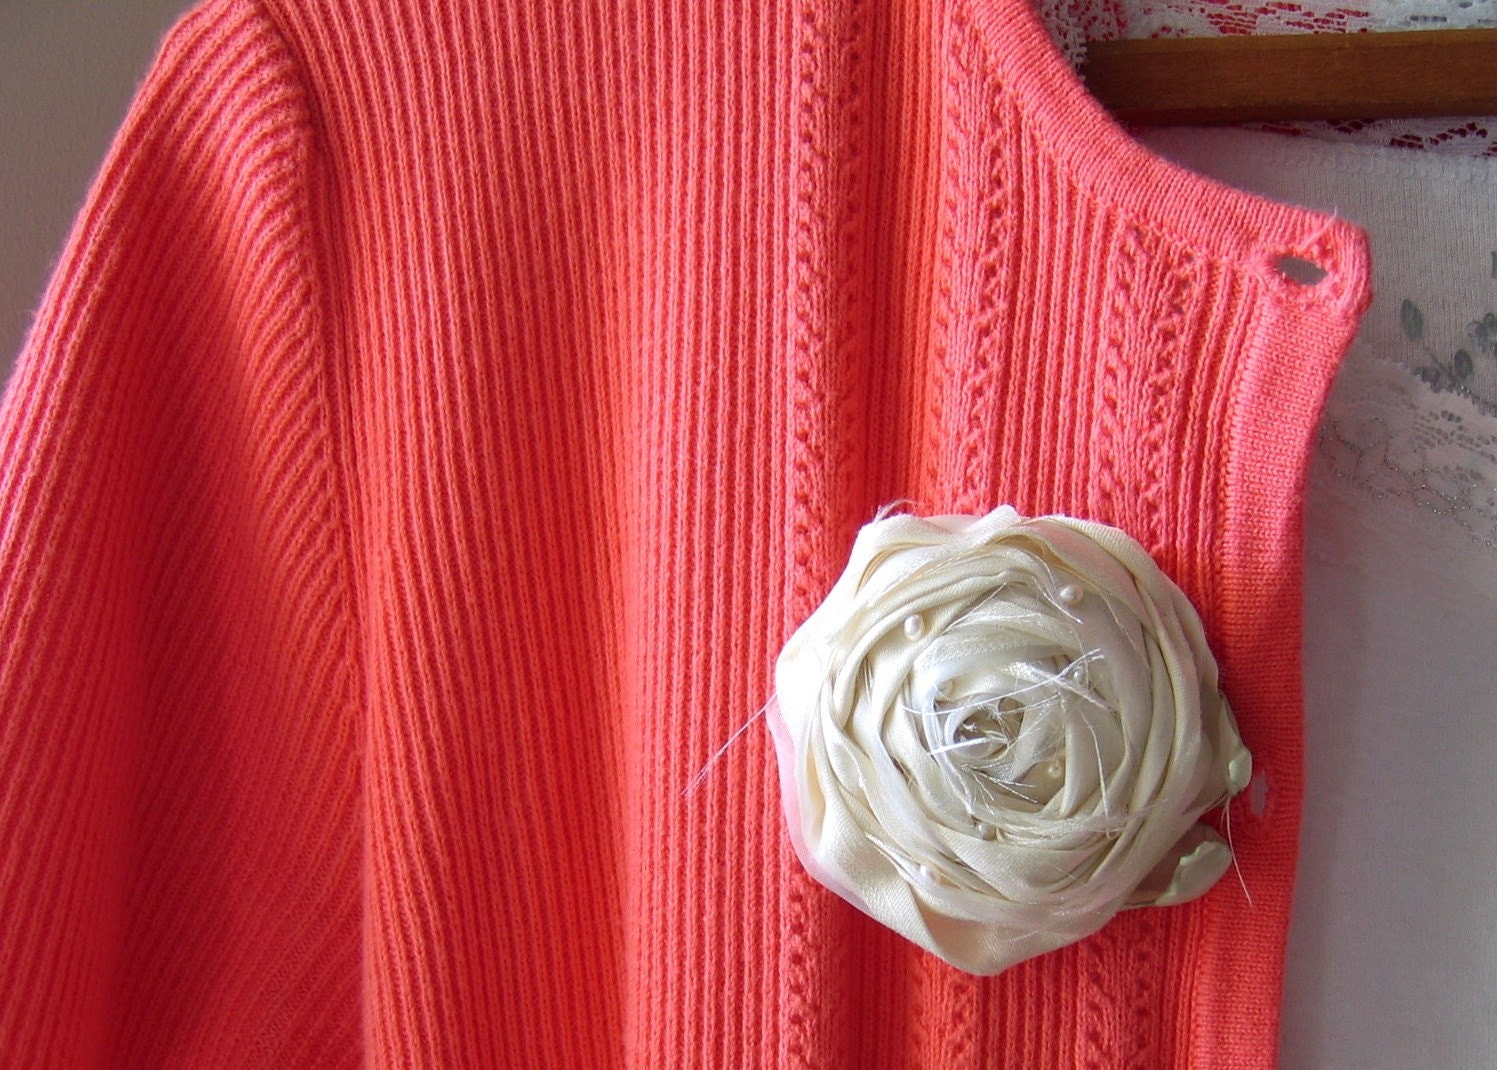
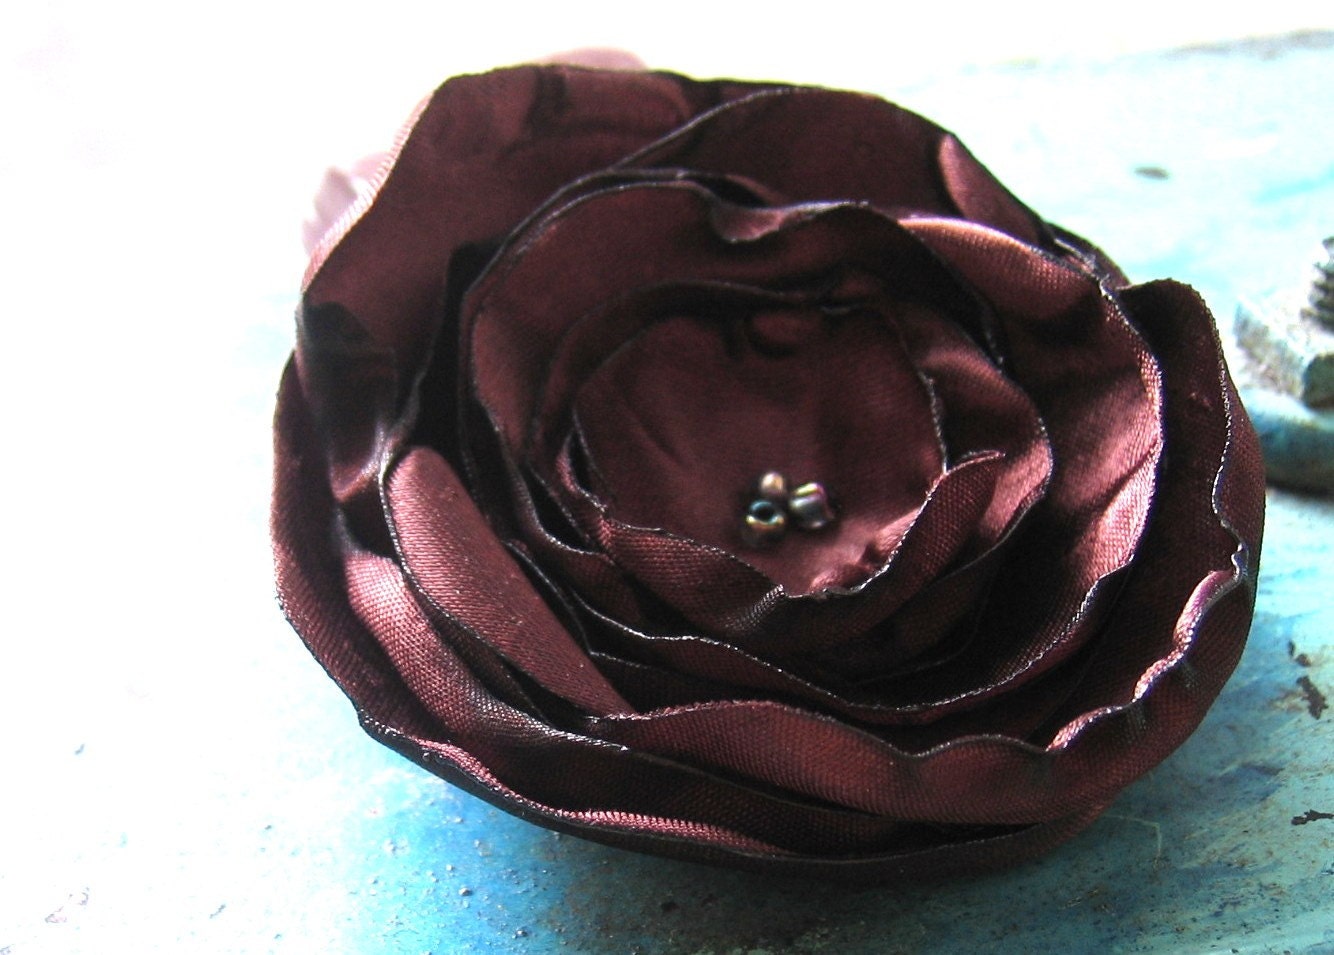
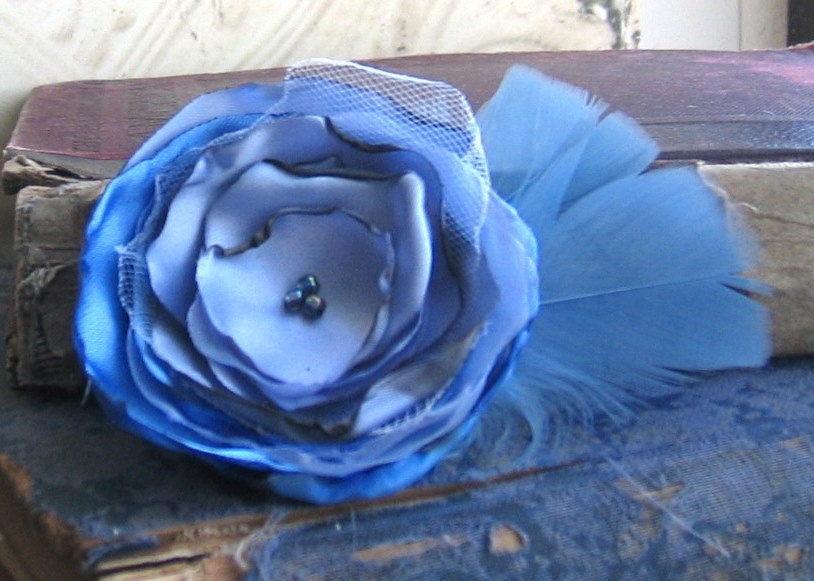
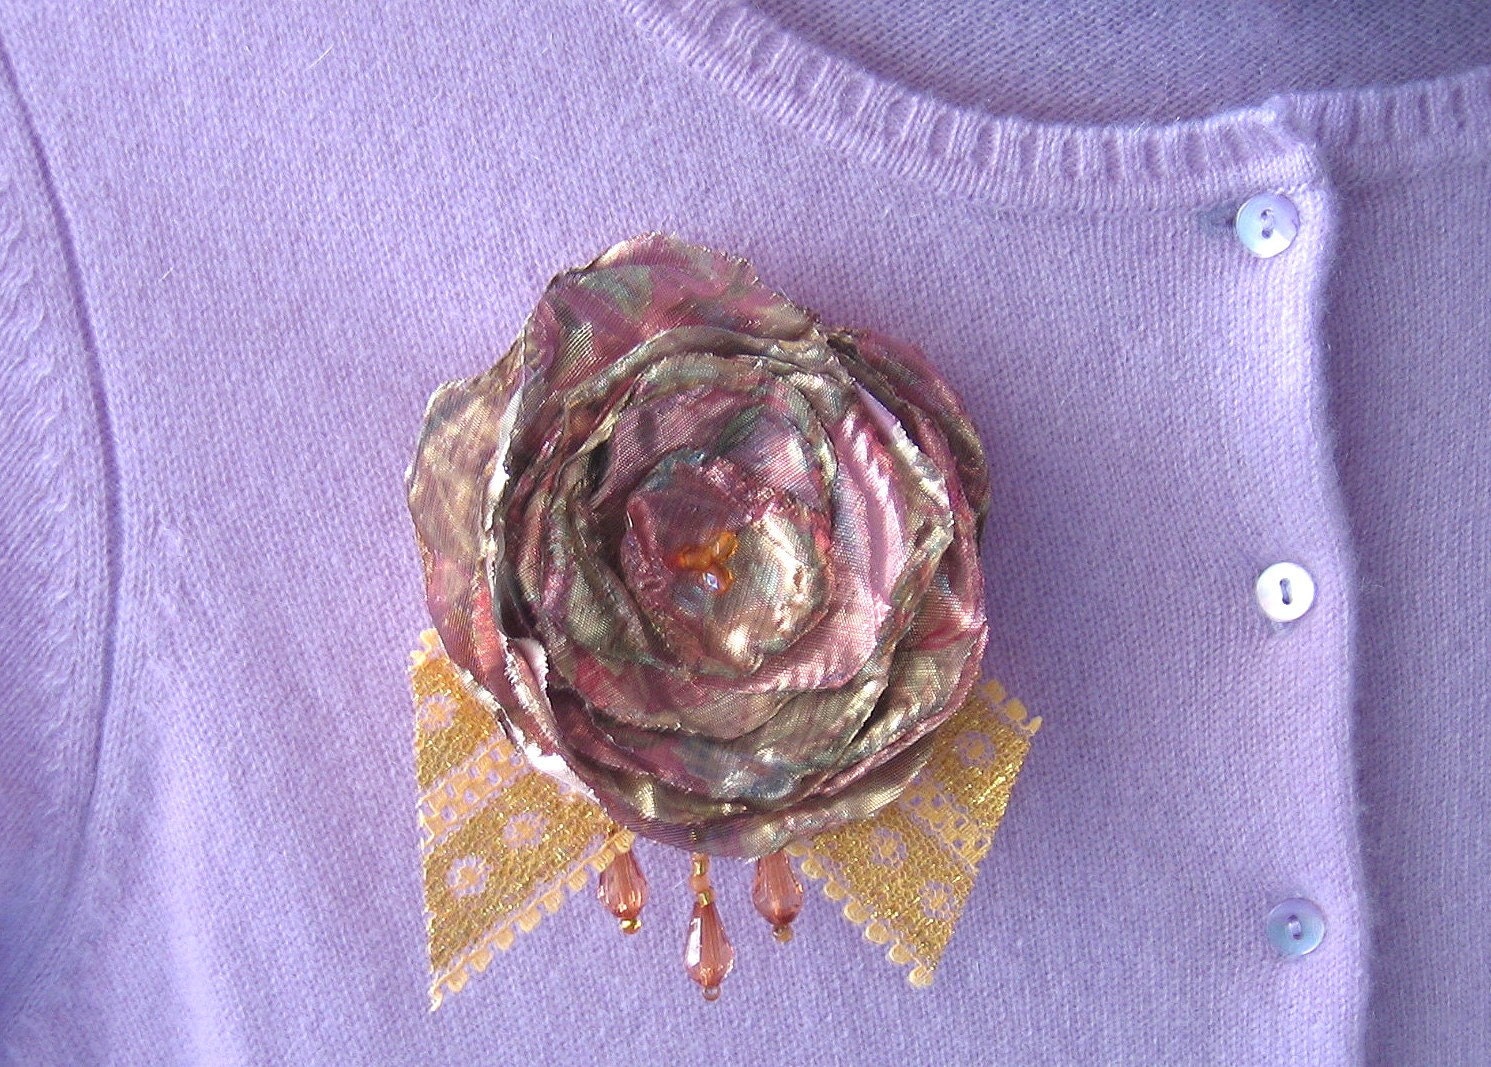
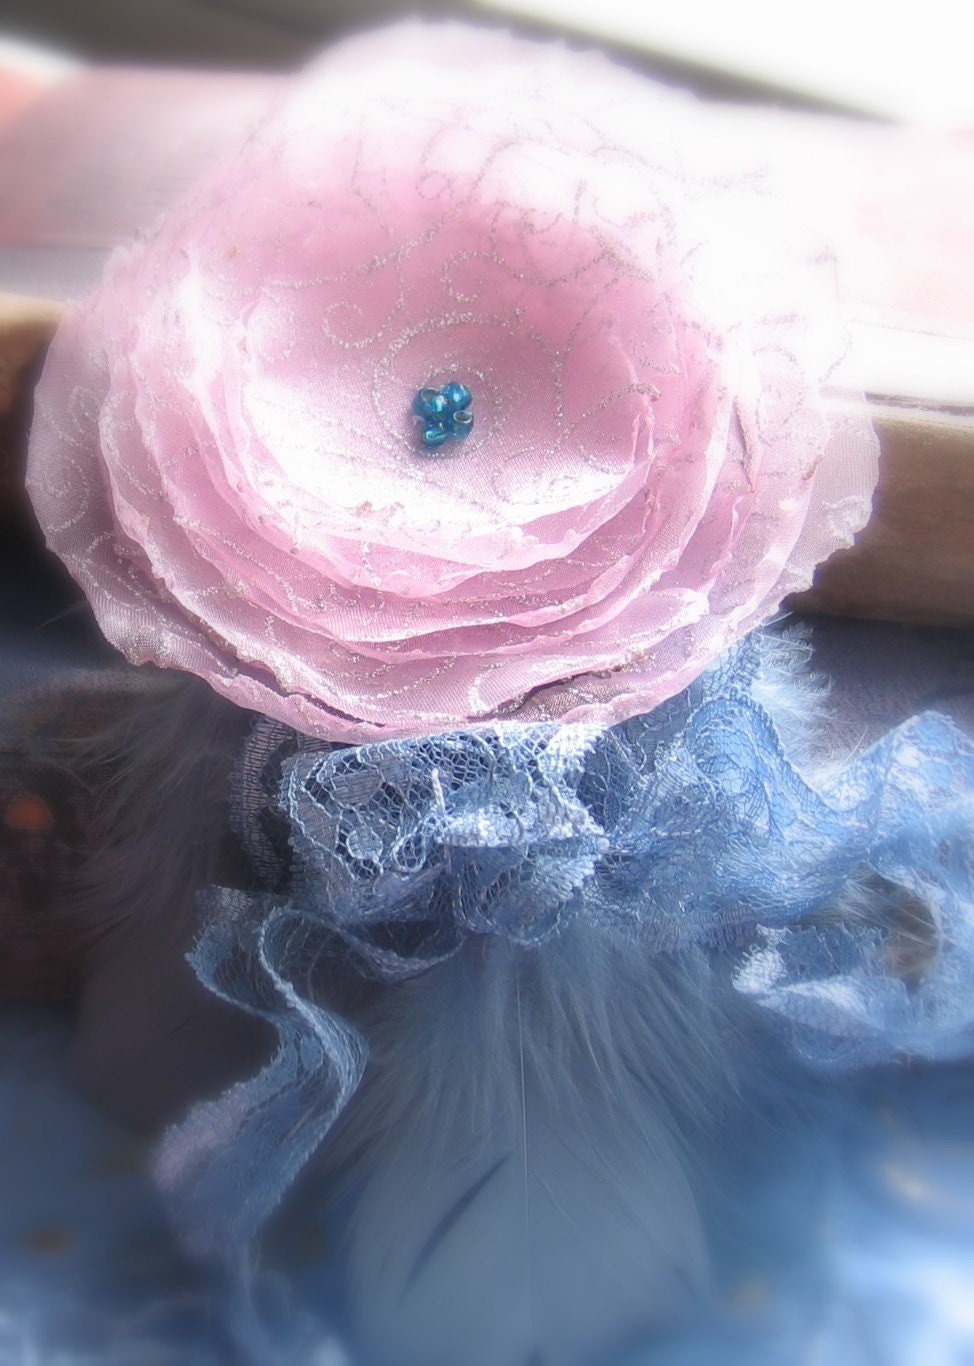
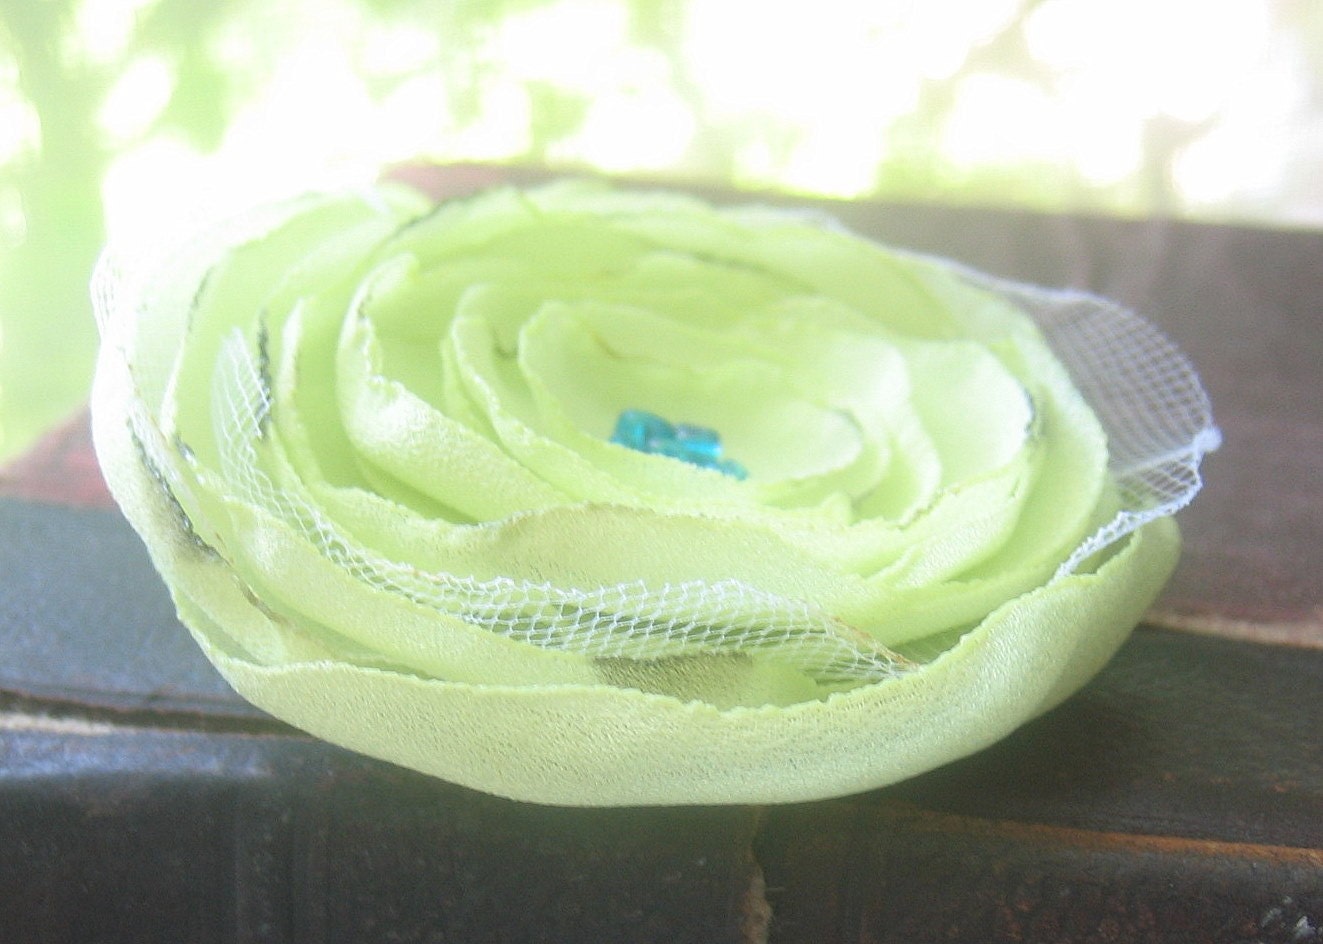
Recycled, Repurposed Fabric Flowers found on Etsy ~ Check them out!

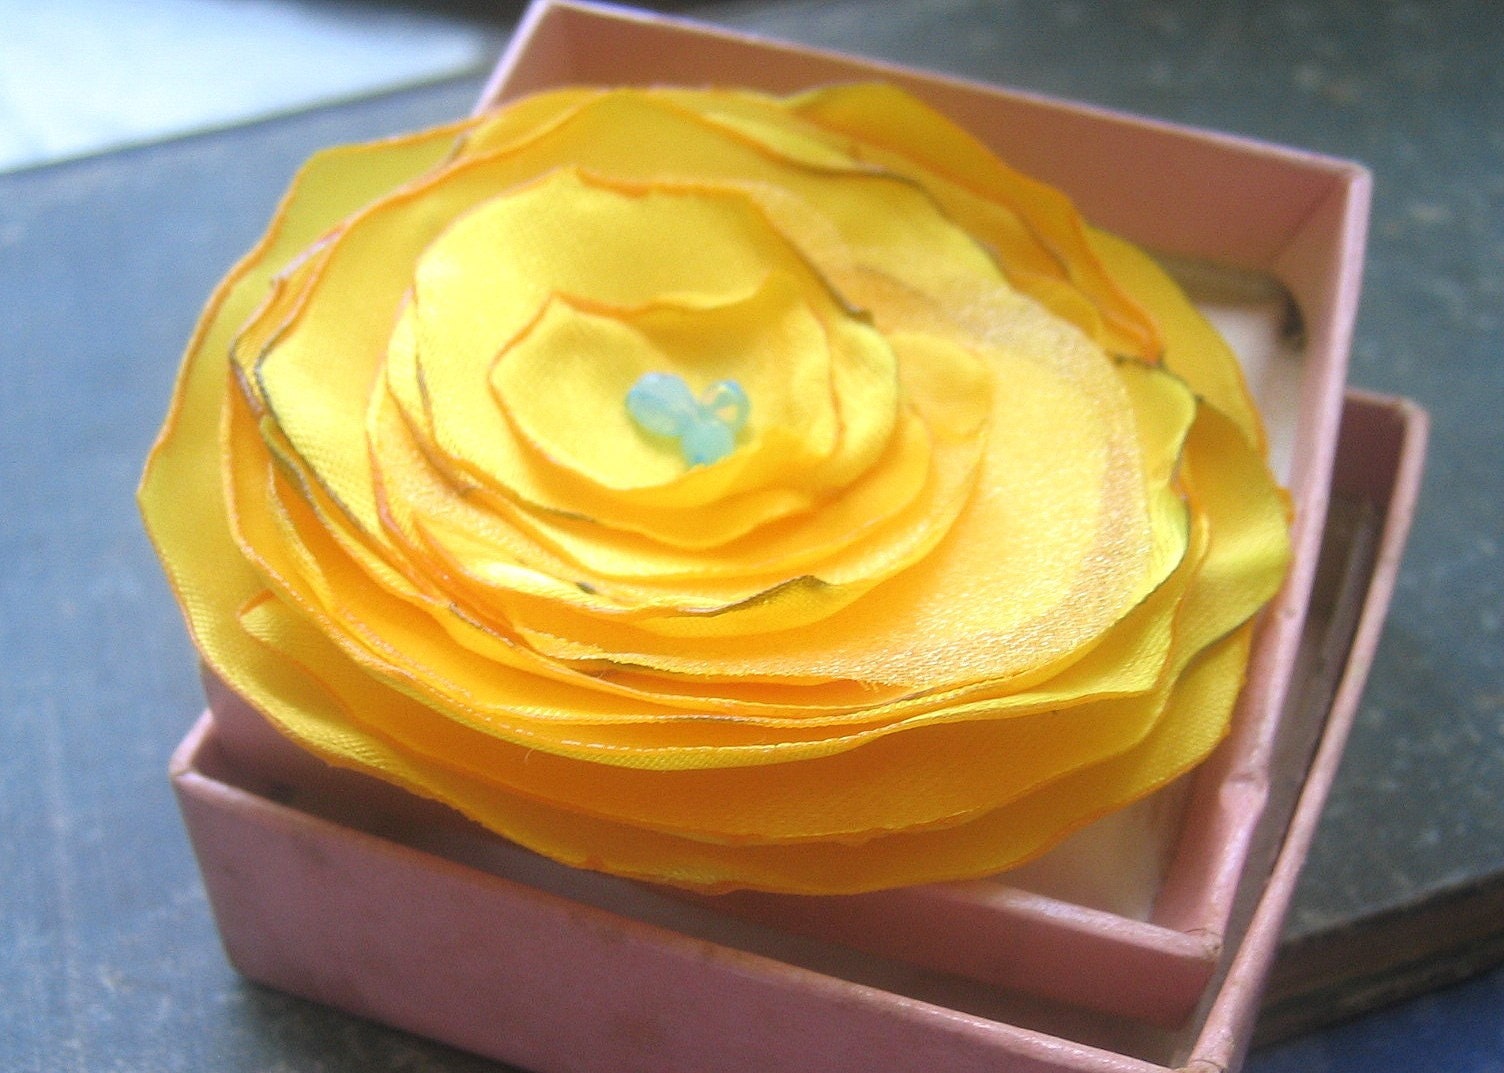
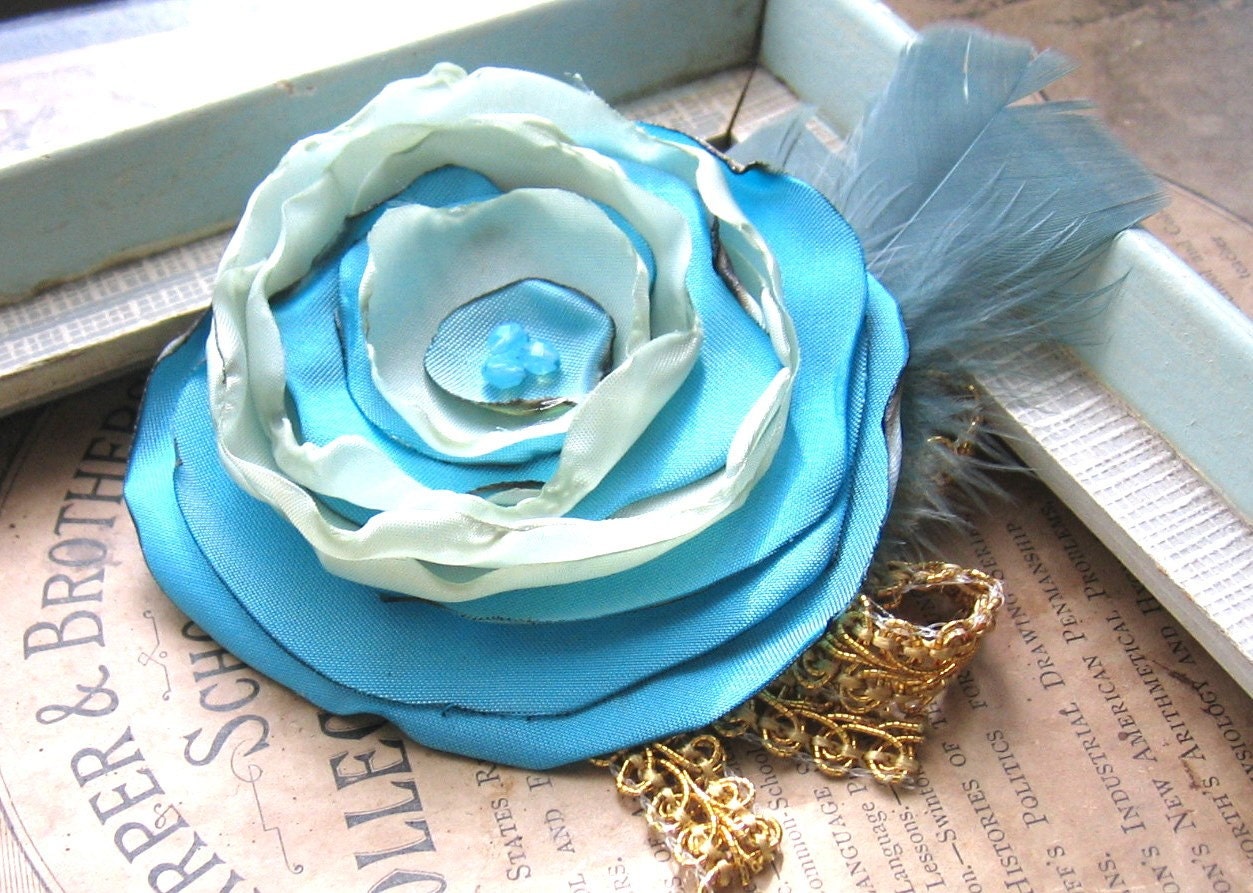
Golden Yellow and Robin's Egg Blue Fabric Flower Brooch

Golden Yellow and Robin...
$12.00 USD

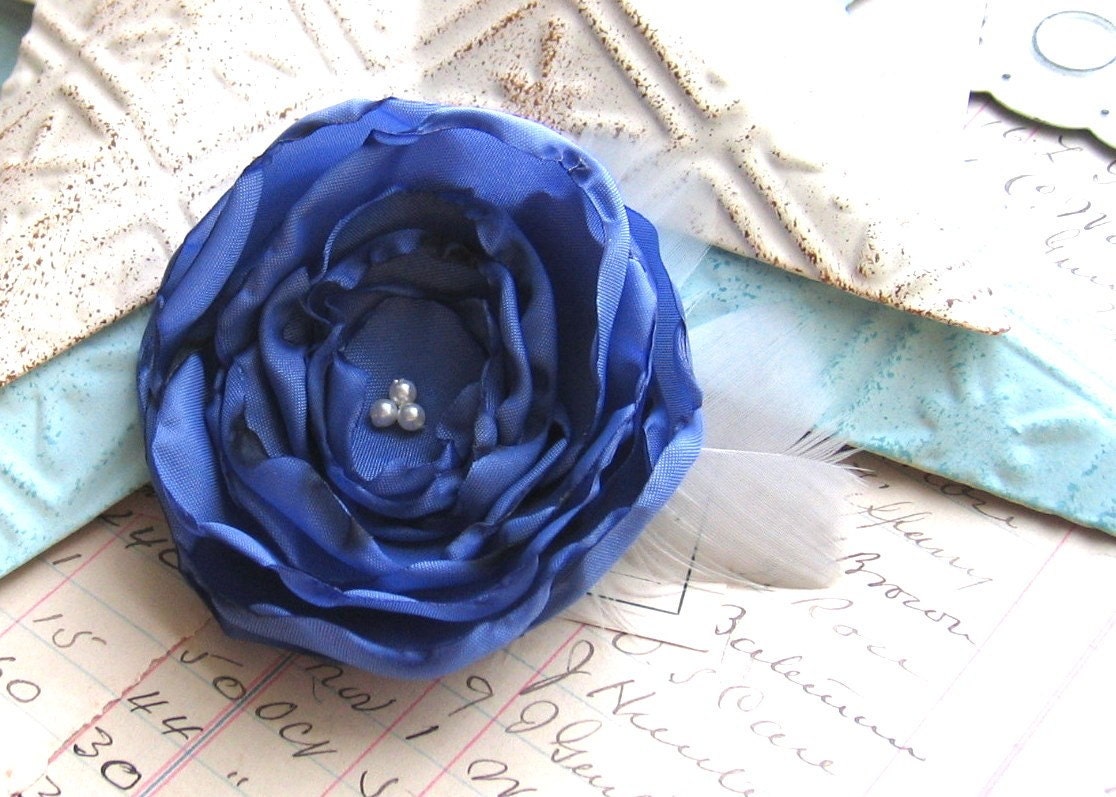
Wild Flower Brooch,  Deep Blue Sea White Feathers

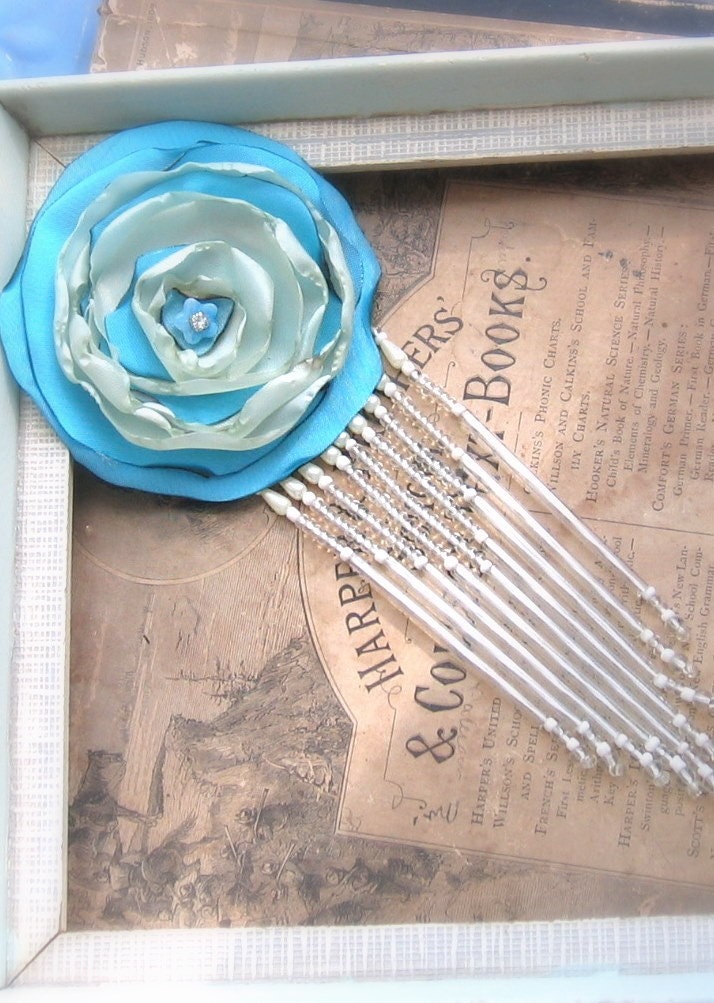
Flower Brooch Forgotten Ball Gown with  Glass Fringe
$20.00 USD

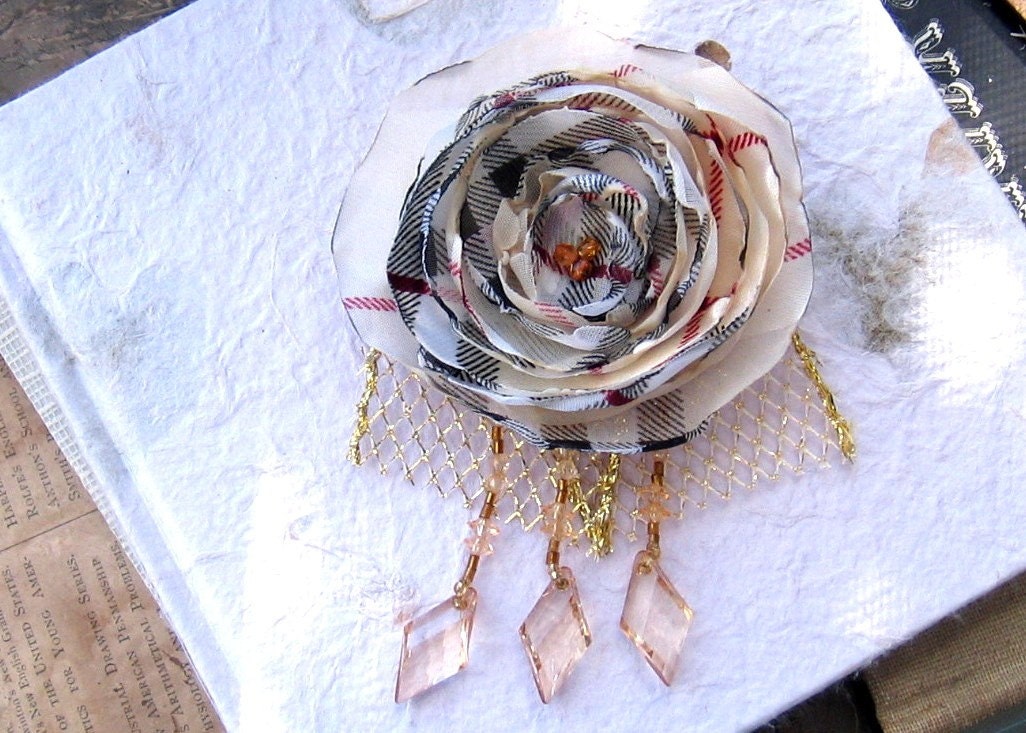
School Girl Tartan Brooch with Fringe
$16.00 USD

Wild Flower Brooch in Shocking Pink with Ribbon and Lace
$14.00 USD

A Wild Flower Brooch Forgotten Ball Gown with  Gold
$16.00 USD

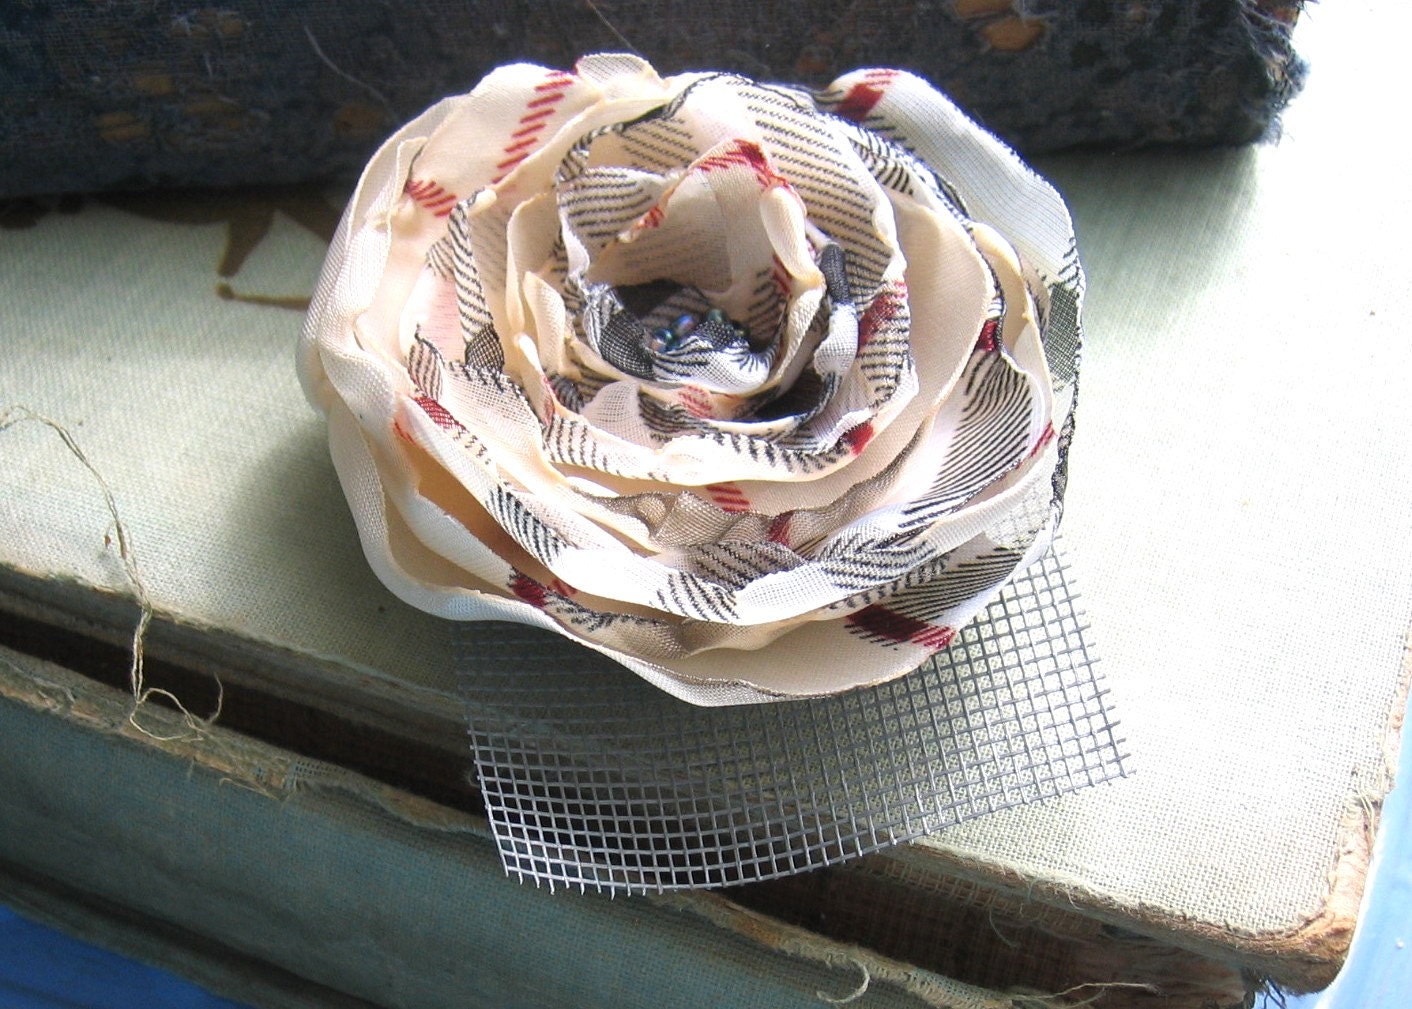
School Girl Tartan Brooch
$14.00 USD

Fabric Rose  Brooch Regal with Rhinestone
$14.00 USD

Forgotten Ball Gown A Wild Flower Brooch with Robin's Egg Blue Seed Beads
$12.00 USD

Fabric Flower Brooch Accessory Pin Basic Black with Rhinestone
$12.00 USD

Serene Fabric Flower Brooch With Robin's Egg Blue Beads
$12.00 USD
Fabric Rose Flower Brooch Ethereal with Petite Peach Fresh Water Pearls
$14.00 USD

Chocolate Mocha Wild Flower Brooch with Feathers No. 2
$14.00 USD

Wild Flower Brooch in Orchid Blue with Feathers No. 2
$14.00 USD


Shabby Rose Fabric Flower Brooch with Vintage Style Cuff Link Pin
$18.00 USD


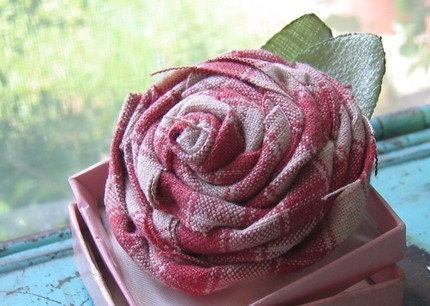
Fabric Flower Rose Flower Brooch in Watermelon
$12.00 USD

Fabric Flower Brooch in Chocolate Mocha
$12.00 USD

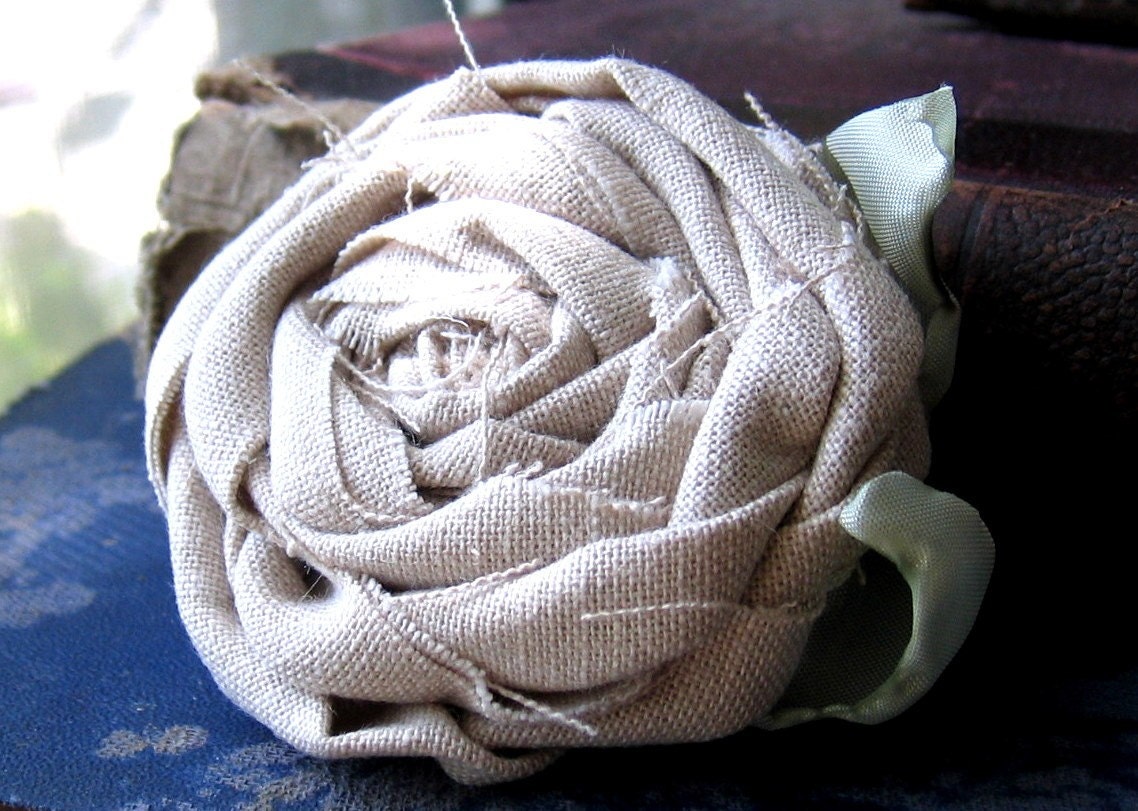
Fabric Rose Flower Brooch Cool and Fresh Linen
$12.00 USD


Blazing Bronze  Wild Flower Brooch Accessory with Emerald Green Feather No. 1
$14.00 USD
Shimmering Fabric Flower Brooch Pink Gold with Gold Mesh
$16.00 USD

Fairy Pink, A Brooch, Corsage, Choker and Belt Accessory All In One No 3
$26.00 USD

Pink and Gold A Shimmering Wild Flower Brooch with Fringe
$16.00 USD


Spring Buds Fabric Flower Brooch with Turquoise Seed Beads
$12.00 USD
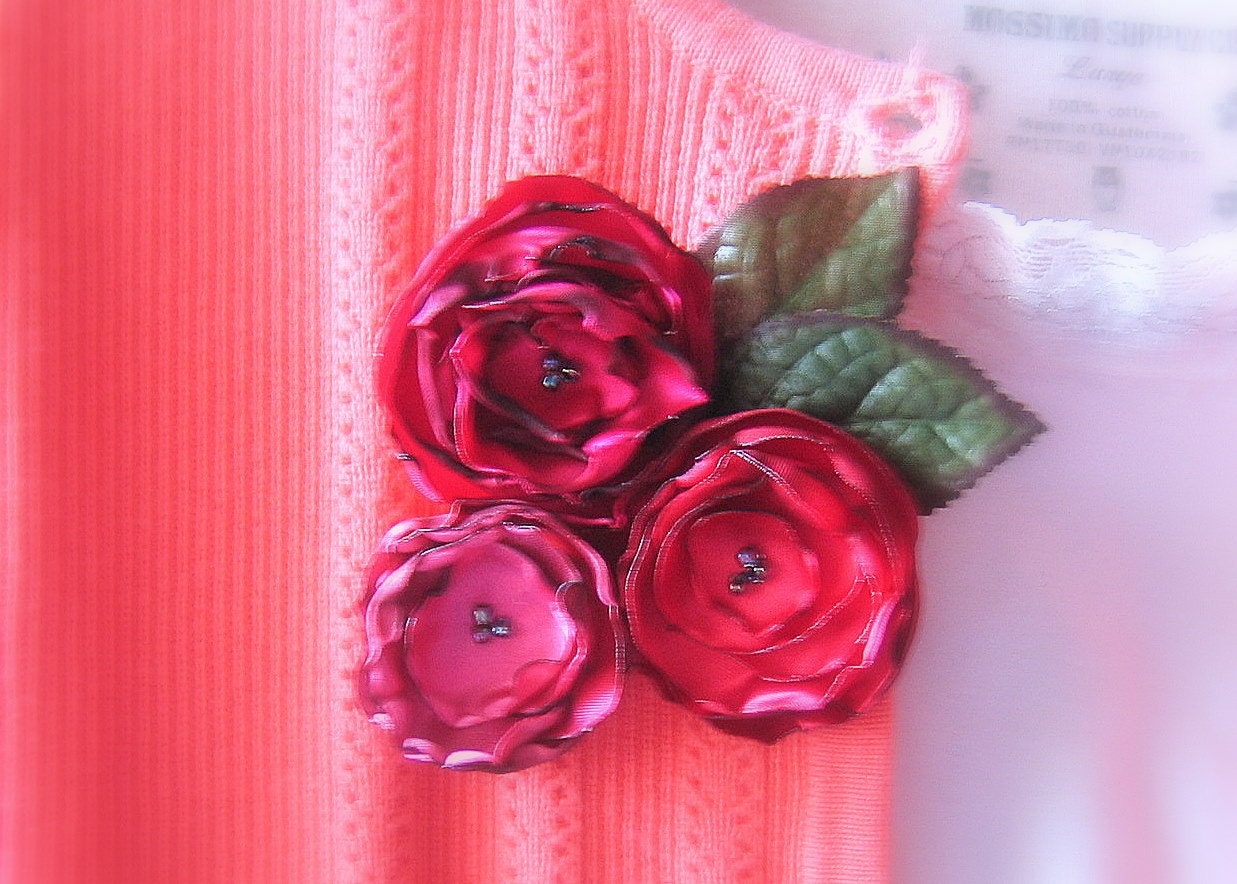
Fabric Flower Brooch Bouquet Roses Are Red  No. 2
$20.00 USD


Find out more about this shop on the web at these links...

Blog
http://ninas-day.blogspot.com

Handmade
youaremysunshine.etsy.com

Vintage
mysunshinevintage.etsy.com

Flickr:
http://youaremysunshine-etsy.flickr.com
(I post my upcoming handmade and vintage items!)

Facebook:
http://youaremysunshine.facebook.com