Birdhouses from Greeting Cards
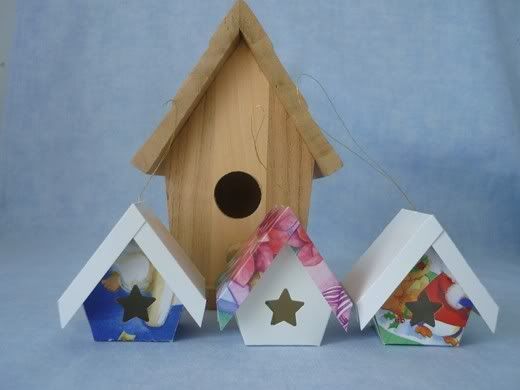
After I had made the greeting card village ornaments I decided that I wanted to make some birdhouse ones. Since the angles for these ones were not as straight forward I couldn't just score the patterns directly on the greeting cards. I made patterns with graph paper first.
If you'd like a pdf version of the pattern for my birdhouses you can click this link. (If you don't have access to a printer you can consult the pattern to draw your own. I drew the four sections of the house on 1/4 inch graph paper and then taped them together.)
After I had made the pattern I taped it to the back of the greeting card front. (This pattern will fit on any card that is larger than approximately 4 x 6 inches.) I took a sharp pin and poked some holes to indicate where the fold lines and the entrance would be. (One mark near either end of every fold line is sufficient.)

Then I cut around the pattern.

I scored all the fold lines and used a soft pencil to make a line to mark the centre line of the entrance. Then I punched the entrance ...

... creased all the fold lines ...

... and placed a piece of double sided tape on the tab.

I rolled the house, removed the backing from the tape and stuck the tab to the inside of the front wall. (If I had used use glue instead of double sided tape I would have folded up one piece of the base and used something like a clothespin to clamp the tab to the front wall. Alternatively I could have eliminated the tab and used tape, like I did on the greeting card village ornaments.)

Next I assembled one side of the roof. I used double sided tape to attach the adjacent flaps to the roof piece. (Again if I had used use glue I would have used something like a clothespins to clamp the pieces together.)

Then I attached the two remaining flaps to the other side of the roof. (If I had used glue I would have laid this side of the roof down on my work surface until the glue was set.)

Next I assembled the base. I folded up the two rectangular pieces then used double sided tape to attach the other two pieces of the base. I inserted the handle of a small paint brush in the punched entrance to press the layers together.

Then I was ready to assemble the outer roof. Because of the simple geometry I could have used my quilt ruler to score the pattern directly onto the back of the card, like I had on the greeting card village ornaments. Instead I taped, marked and cut out the pattern like I had the larger piece of the birdhouse.

I scored the fold lines. Then I folded the hanging thread in half, knotted the two ends together ...
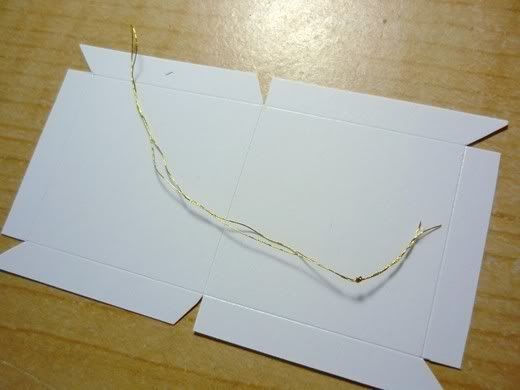
... and used a needle and thread to pull the folded end from the inside to the outside of the roof.
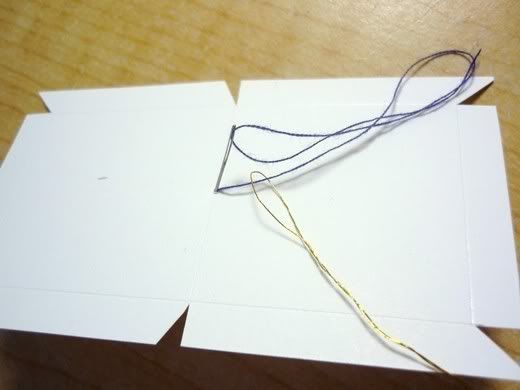
Next I creased the fold lines of the outer roof.
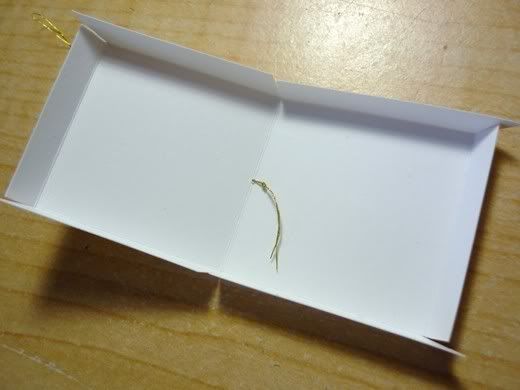
I applied some fast drying glue to one side of the house roof and gently laid it on Side A of the outer roof so that the roof peaks were together and the house was centred. (Side A has the notch at the centre front.) When it was in place I pressed the house against the outer roof. If I had used regular glue I would have left it laying like this until the glue was dry.
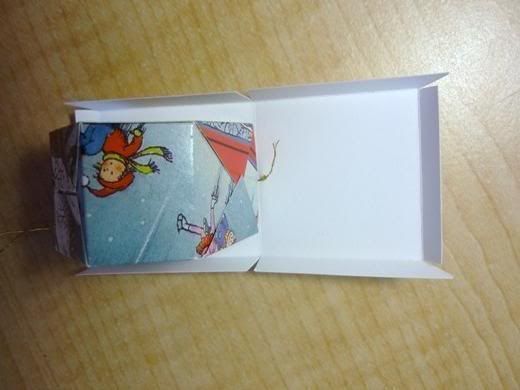
Then I applied glue to the other side of the house roof and pressed the remaining half of the outer roof in place. When the roof was in place there was a bit of the trim extending above the roof. I placed a spot of glue between the two pieces of trim on the front and pressed them together. Then I glued the two pieces of trim on the back of the birdhouse together.

When the glue was set I used scissors to carefully cut the trim flat against the roof.
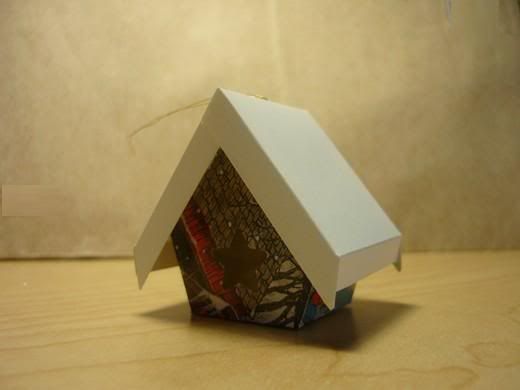
For this birdhouse I decided to add a bit of glitter to the roof. I painted some white glue on the surfaces of the outer roof and then sprinkled the glitter over the roof. When it was dry, and the excess glitter poured back into the container, it looked like this.
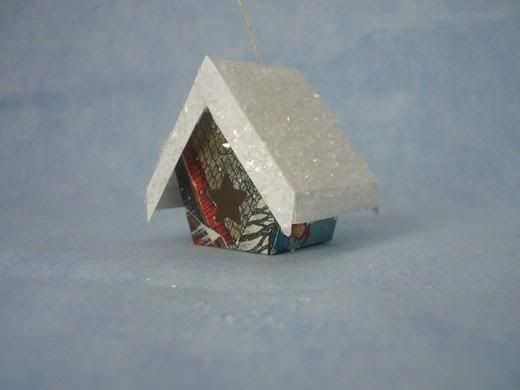
Most of the greeting card birdhouses I have made have had colourful (front of the greeting card) walls and a snowy white (back of the greeting card) outer roof. A birdhouse with white walls and a colourful roof can work well too.

Note. I used the star shaped punch because it was the only one I had that was the right size. If I hadn't had my star punch here are some alternatives I would have tried. Going clockwise the green circle was cut from a greeting card, the small blue circle is a hole made with a regular hole punch, the red star is a sticker and the blue diamond is a hole cut with a mat knife. Another possibility is a 1/2 inch round sticker, which may be found where office supplies are sold.


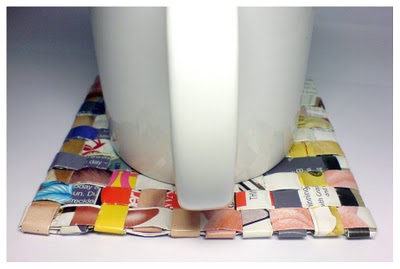

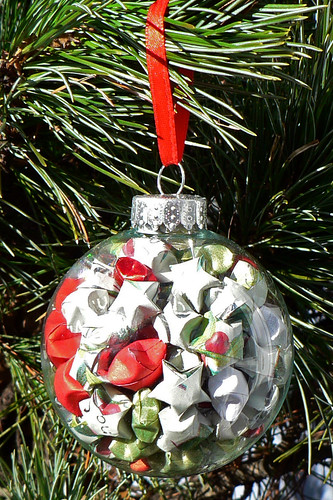
 Origami Lucky Stars: I'm partial to these, and they're so simple to make. Cut your paper into strips, then follow the directions on


 A
blender pen traditionally does just that, blends. It is a pen filled
with a clear ink that artists use to blend their pens, chalk, coloured
pencil, etc and give it a water colour type look. However, the clear ink
also reacts with toner ink (photocopied, laser printed or magazine
images work) causing the ink to lift of the image and can then be
transferred onto a new surface. You can use a blender pen to transfer
images onto paper products, fabric, lino (we use it for preparing block
prints) or even wood. Here's how....
 Step One: Loosening
 Step two: Burnishing
 Step three: Check While
holding your image in place with one hand, carefully peel up the paper
to check that it has transferred successfully. Now, carefully switch
sides and check the rest of the image. If it is still a bit faded or
patchy, then repeat step two. Or, if you're into faded and/or patchy
then leave it at that!
 Voila! Lovely personalised gift tags ready to use for all your Christmas goodies.


